INTRODUCTION
If you think Drip irrigation is a tool for ground gardening only, no, it’s not. Using drip irrigation in container gardening helps you water precisely, you can water without pressure, and you can save water. The best part of drip irrigation is that it only takes time to fix. After that, all you need to do is turn on the tap to water, or you can use the automation system to water with drip irrigation while you are travelling.
Drip irrigation is a method that can use a very minimal quantity of water and maintain an ideal temperature even in hot weather. And it is beneficial for busy gardeners. In this blog, you will learn about what drip irrigation you need for your garden, how to set it and maintain it, and a lot more about the drip irrigation system. Let’s explore together.
Contents
1. UNDERSTANDING DRIP IRRIGATION SYSTEMS
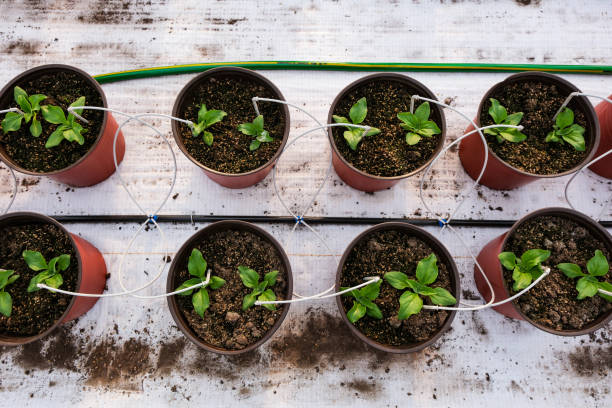
Drip irrigation is a method for watering containers without much strain, and it is an opted-for method for Busy gardeners. Drip irrigation in container gardening differs from the Drip irrigation method that we use in Ground Gardening. The drip irrigation tool available for container gardening also has some specific tools that fit pots.
How it works
Water flows through the main source (barrel or tap) through the tubing and filters the debris from the water. The water pressure is low enough for distribution. Water travels through the tubing and the emitters release it to the pots. The soil around the plant absorbs the water gradually.
Key Components of a Drip Irrigation System
- Water source: drip irrigation needs a main water source it can be a water storage barrel with a tap or your main water pipeline tap.
- Filters: These are used to filter the debris in water and prevent clogging in tubing.
- Pressure regulator: These are used to regulate the pressure to a suitable level for drip irrigation.
- Tubing: The bigger-sized tubing that is used to transport the water through the entire system.
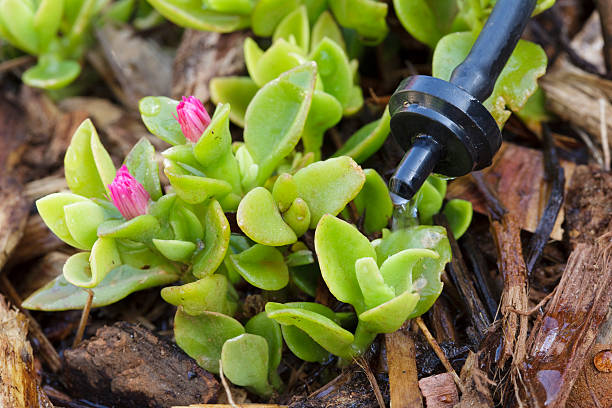
- Emitters/Drippers: this little tool drips the water like little droplets in each plant.
- Valves: a small controller for little sections or separate plants used to turn on/off as needed.
- Connectors & Fittings: are used to connect small tubing pipes for balanced water flow.
2. TYPES OF DRIP IRRIGATION FOR CONTAINERS
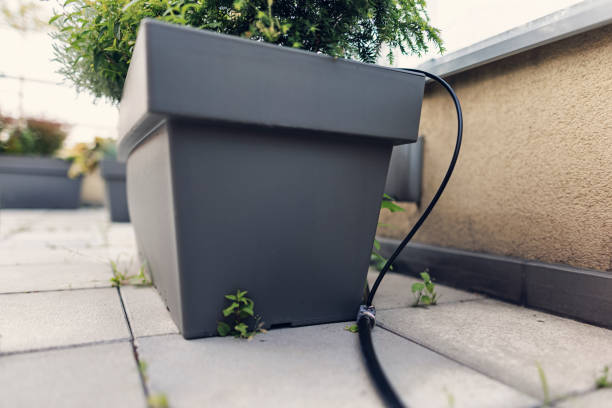
Different kind of Drip Irrigation systems are available in the market. You’ve to choose the one that fits your water source availability in your garden space.
This is a system that works like water falling from a height to flow through the downside. This system uses gravity to deliver the water from the elevated water source (barrel) to plants. The water flows through tubing and drip emitters to each plant. This method is best for gardeners without a nearby power source and it’s cost-efficient as well. This method suits well for small garden setups because of the limited water pressure., It is not suitable for bigger containers and the water source containers have to be placed higher.
This system runs through Battery-powered timers that control water flow and allow automation. With this system, you can operate the watering valves open and close. This system can be connected with both barrel-like water sources and tap water sources.
This device allows you to customise the schedule of watering. A gift to busy gardeners and travel-loving people. The system is available from affordable to expensive price ranges based on plant quantity and size of the garden.
Tap-connected Drip system
An easier way to water your plants, this tap-connected method can be used for manual and automated watering. The tap provides a little more pressure on the water flow ideal for different-sized pots and bigger pot gardening setups. This high pressure ensures even watering across all containers.
This tap-connected drip irrigation is ideal for bigger plant containers, large quantity pots and lengthy garden areas. With these tap-connected methods, you can use battery-operating automation and electrical automation watering for plants.
3. BENEFITS OF DRIP FOR CONTAINER GARDENING
Water efficiency and reducing water wastage
Drip irrigation has one benefit that isn’t available in any other watering tool except self-watering pots. That is zero water wastage. With this tool, you water the potted plant with low pressure without spilling a drop.
The water efficiency sounds like a joke for people with unlimited access. But people who face water scarcity know the painful truth behind this. In the southern part of India, we don’t face much water demands but I faced an extreme no-rain situation and water scarcity a decade before at that time I just started gardening and lost all my plants at once.
With drip irrigation, you can water your container plants even in water scarcity and dry climates with zero wastage of water.
Consistent moisture levels for healthier plants.
Maintaining the temperature in pots is challenging in hot climates and heat-weather countries. Drip irrigation is an easy and effective method to maintain consistent moisture and cool temperature in potted plants.
Consistent moisture plants get a free flow of water that plays a crucial role in plant growth by being a raw material in the photosynthesis process, providing oxygen and energy to roots. Check out the role of water in plants here ➡️ why does watering matter?
Time-saving benefits and reduced manual effort.
Different people love growing plants. Not everyone has to do gardening duties as full-time gardeners. To those busy gardeners drip irrigation is a gifted tool to those busy bees.
Setting up drip irrigation is time-consuming work. Just note it takes time to set up, not daily watering. Drip irrigation has to be set based on your garden needs and adjust to seasons. However, watering can be fully automated using a battery-powered drip irrigation system.
Prevention of soil erosion and nutrient loss
Drip irrigation prevents soil erosion and nutrient loss because of the soil loss in pots. With drip irrigation, the overwatering and underwatering issues avoid these things and prevent nutrient loss. Drip irrigation is very low-pressure watering compared to other Watering tools so no soil erosion.
4. SETTING UP A DRIP IRRIGATION SYSTEM
Assessing your container layout and plant water needs.
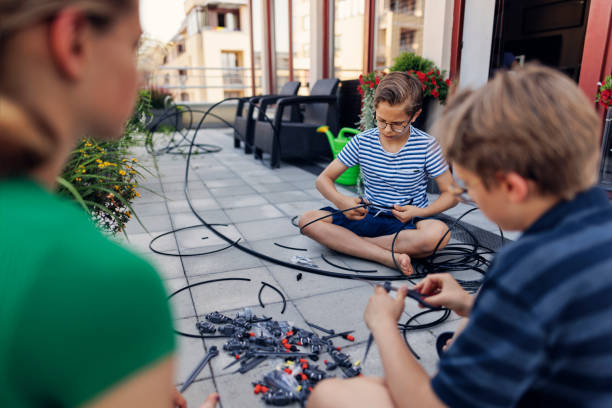
I did a week’s research before buying drip irrigation for my pots ( and temporarily removed them for renovation). You have to do a little research about how many pots what length of tubing you need and what water source considerations.
Selecting an appropriate system for small, medium, or large container setups.
For small gardens, choose gravity-fed drip irrigation. You don’t need a power source or tap to water the minimum plant. You can use water barrels as a water source in this method. Drip irrigation sets are even available for 30 plants.
For bigger plant gardens choose drip irrigation based on the quantity of the pots and you need pressurised watering sources like tap. Automation tools also needed to be chosen based on plant quantity.
Understanding emitter types and choosing the right flow rate for different plants.
There are different types of emitters available in the market. You can get emitters along with a drip irrigation set but if you need specific emitters choose based on water flow rate.
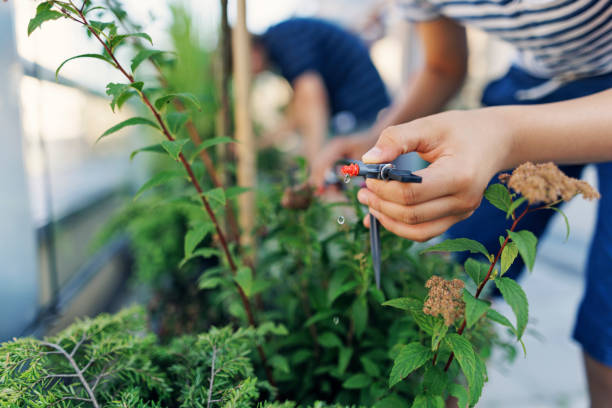
Pressure-compensating emitters deliver a consistent flow rate evenly ideal for different height potted plants. Adjustable Drip Emitters or Button Drippers are widely available with drip irrigation set to adjust water dripping levels for separate plants. Inline Emitters are integrated emitters suitable for lineup containers.
5. STEP-BY-STEP GUIDE TO SETTING A DRIP IRRIGATION
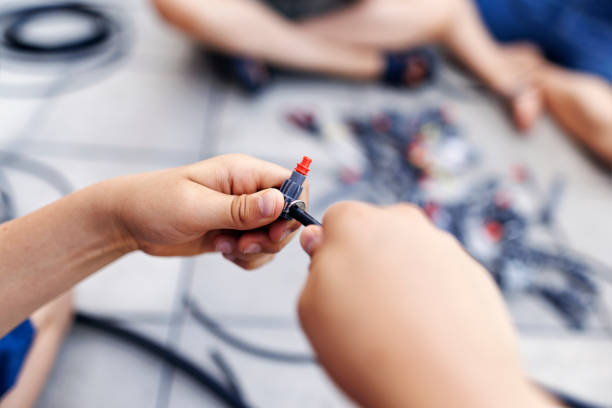
Before buy a drip irrigation kit., you need to know about some things and take measurements and notes about those things. Knowing about your water source for Drip Irrigation is the first and foremost thing to do. The water determines the Drip irrigation type you going to buy.
For smaller plant setups gravity-fed irrigation is enough, for different-sized pots and more quantity pots you need a battery-operated drip system this can be automated as well. For a large number of plants, you need a tap connection and you can automize this as well.
“I’m going to explain the setup process with an example garden set up to give you some idea about how to set up the drip irrigation.”
E.g. I have a 12×10 terrace area with 30 plant pots facing east with 15 pots each on the south and north sides with no tap water connection on one side. Arranging my plants based on water source and light requirement.
For Barrel-water sourced drip irrigation
– In the north, (the side where I didn’t have a tap connection) I placed houseplants and foliage. The plants that can tolerate low light and require less frequent watering than edible plants. This side with Barrel for water source in a heightened level than my pots.
– And this side I can use gravity-fed drip irrigation, I arranged my plant pots from highest to the shortest in a straight line using 12 feet (3.6 metres) of mainline and 7.5 feet (2.3 metres) of branch tubing ½ feet for each plant, 15 emitters, 15 tubing tee splitters and 15 stakes to stick the emitters into a pot.
– For a 12-foot straight line, I used 15 tubing tee splitters for every 0.8 foot to keep the mainline tubing straight and ensure the water flows from upwards to downward. The plants should be in between 0.8-foot distance each.
– The hole has to be pinched by a hole maker tool with the same length (0.8ft). You can add individual turn-on/off valves in between the tubing tee splitter and branch tubing for each plant if you want or specific plants you want to have much more controlled watering.
– At the end of the main pipe add a dummy to prevent water leakage. You had to add turn-on/off valves at the start of the pipeline. You can add battery-operated drip irrigation in between the barrel pipe and the main pipeline to automate the setup.
For tap water-source drip irrigation
- On the North side with a Tap connection and a power source with different sized pots and 1 bend in the centre not possible to straight line piping.
- Arrange the pots in two single lines, the two sides of the bend.
- 7 pots for each side, and one bigger pot in the centre bend area.
- Connected the main pipeline with control valves in the tap connection or you can add an automation device in between these connections.
- Adding a 7-foot main pipe with a 3.5-foot branch tubing for ½ foot each pot in the first section with 7 emitters, 7 tubing tee splitter and 7 stakes. Added 3 connectors to straighten the line and the free flow of water.
- Add an elbow connector in the 7th plant near the bend add another piece of main pipe with tubing tee splitter for the plant in the bend, add another small piece of main pipe and then elbow connector and connect with the second row starting plant. This bend has to be covered in like top-opened square.
- The second line is an imitation of the first half straight line. In the end close the pipeline with the tubing end plug.
- This side has a little more water pressure than the other side., so you can handle bend and curves easily.
6. MAINTENANCE AND TROUBLESHOOTING DRIP IRRIGATION PROBLEMS
Regular maintenance
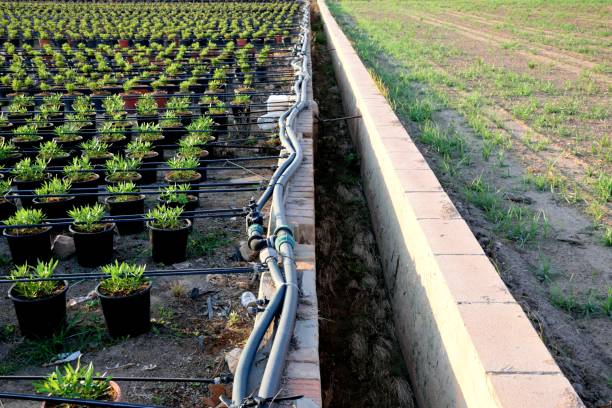
To keep your Drip irrigation fully functional and maintained for longevity, check for clogs in tubing especially if you have saltwater use hard water filters for tap or hard water softener in barrel storages, and check water leaks in tubing if you find any leaks use water tapes to cover or fix the pipes properly and replace them immediately to avoid further damage.
Cleaning emitters and damaged tubing
If you find any of the emitters are not dripping the water properly and you find them underwater, check the emitters and clean them to take out any debris or dirt in them. Emitters are too close to potting mix it happens while raining or windy times.
Checking tubing is a thing to ensure the drip irrigation function. If you find any damage in the main tubing or branch tubing try to fix it with waterpipe tape or replace it if needed.
Adjusting the emitter’s flow rates
Choose adjustable emitters to control the flow. Sometimes the adjustments are based on plant growth the smaller plants need less water than bigger ones in that case you’ve to adjust based on plant need. Also, some plants need consistent moisture to thrive like edible plants. On the other side succulents prefer well-drain soil they need less moisture.
Adjusting for heat weather
In heatwave summers the flow rate should be high and the watering frequency has to be scheduled based on potting mix drying levels. Adding mulch around pots to avoid water evaporation in hot summers. Setting up shade not only protects the plants in extreme heat waves it also protects the drip irrigation life as well.
Adjusting for monsoon
You’ve to adjust water flow based on your climate and humidity levels to protect your plants from overwatering issues. In times of rain spells the system has to be stopped and you have to use it only if needed. If possible, remove it in rainy seasons to protect the emitters from getting clogged or clean it after rainy seasons.
CONCLUSION
Using a drip irrigation system sounds like a huge work and spending money. But compared to the benefits like watering a huge collection of plants without much effort, precise watering for each plant’s needs, saving time, and automation process that helps to water your even if you’re away from home are gifts to a lot of gardeners.
Investing in drip irrigation is not a waste compared to the benefits you gain from the system. It needs time to set up once, you don’t need any specific time spent while watering just a turn on of the tap is enough to water.
With the above step-by-step guide, you can easily set a drip irrigation to the pots. You can maintain a functional drip irrigation with the above maintenance tips. Observing the plants over time and adjusting the drip irrigation gives you successful container gardening over time. Happy Gardening!

Pingback: Basics of Container Gardening