Not all liquid fertilizers are magic potions that instantly transform your plants—but some truly work wonders over time, enhancing growth, boosting blooms, and reviving dull or struggling container plants naturally.
Compared to traditional solid fertilizers that have been used for ages, liquid fertilizers still get less attention among home gardeners. But recently, they’ve been gaining popularity—especially among urban gardeners and container plant lovers—because of their ease of use and faster absorption. With that growing interest, though, the myths around liquid fertilizers have grown just as fast.
Let me be honest—not every liquid fertilizer works like magic, but some have truly given me visible results, from lush foliage growth and strong root development to better flowering and fruiting in my potted plants. The problem is, people often believe that all liquid fertilizers are the same, or that using them too often will just lead to plant chaos. That’s only part of the story.
So let’s decode liquid fertilizers: what they are, how to use them, the difference between organic and synthetic options, and when they make the most sense for your container plants.
But before we dive deeper, here’s something important to keep in mind: not all fertilizers—whether solid or liquid—are equal. The results truly depend on the nutrients and amendments they carry, and how well they match your plant’s needs and growth stage.
🌿 What Most Gardeners Get Wrong About Liquid Fertilizers
Myth 1: “More is better”
The truth behind any fertilizer—liquid or solid—is simple: only the right amount does good. More is definitely not better. Even organic fertilizers can burn your plants when overused. Why? Because when you increase the quantity or frequency of feeding, you risk nutrient burn in container plants.
Most liquid fertilizers, whether organic or synthetic, contain salt. When you overfeed, the salt builds up in the potting mix and begins to dehydrate plant roots. You might notice the soil drying out much faster than usual or see leaves with burnt tips.
Signs of over-fertilizing with liquid fertilizer include:
Brown or scorched leaf edges
Yellowing leaves
Drooping or stunted growth
Fertilizers are plant food—but just like us, plants need a balanced diet. Overfeeding never supports growth. It only weakens the plant. For example, if you apply too much nitrogen-rich liquid fertilizer, your plant might grow lots of foliage but will lack flowering or fruiting.
So be mindful—the right dilution ratio, correct timing, and proper frequency are the keys to healthy feeding.
Myth 2: “Liquid fertilizers are only for professionals”
I’ve been a full-time home gardener for over 7 years, and to be honest, I still feel clueless when trying new fertilizers. Sometimes I read the label instructions 2–3 times just to be sure! But here’s the good news: you don’t need to be a pro.
Here’s all you really need to know to use liquid fertilizers for container plants:
Choose an organic liquid fertilizer that suits your plant type
Read and follow the dilution instructions on the label
Feed your plants at the right stage of growth (not too young or stressed)
Stick to a feeding schedule—no guessing or overdoing
If you follow those basics, you’re already more professional than you think.
By reading this blog, you’ll get a better idea of how to use them confidently—plus you’ll find a small takeaway note at the end with all the key tips to remember!
Why Liquid Fertilizer Is Misunderstood in Small-Space Gardens
Liquid fertilizers are a powerful way to boost plant health in containers, especially since potted plants lose nutrients faster than those in the ground. They’re easy to apply—just dilute with water and pour at the base of the plant for quick root absorption.
But here’s where the misunderstanding creeps in:
People think all liquid fertilizers are the same
They assume they’ve found a “magic all-in-one solution”
They overfeed or use it at the wrong time
Many buy chemical-heavy liquid fertilizers hoping for fast results
The result? Disappointed plants and discouraged gardeners.
But once you understand the basics of liquid fertilizer for container plants, you’ll know how to:
Pick the right one (organic vs synthetic)
Use it effectively based on your plant’s needs
Avoid common mistakes that cause damage
This knowledge will help you make the most of liquid feeding in urban gardening, and save your time, effort, and plants.
🧪 What I Tried (And What Failed)
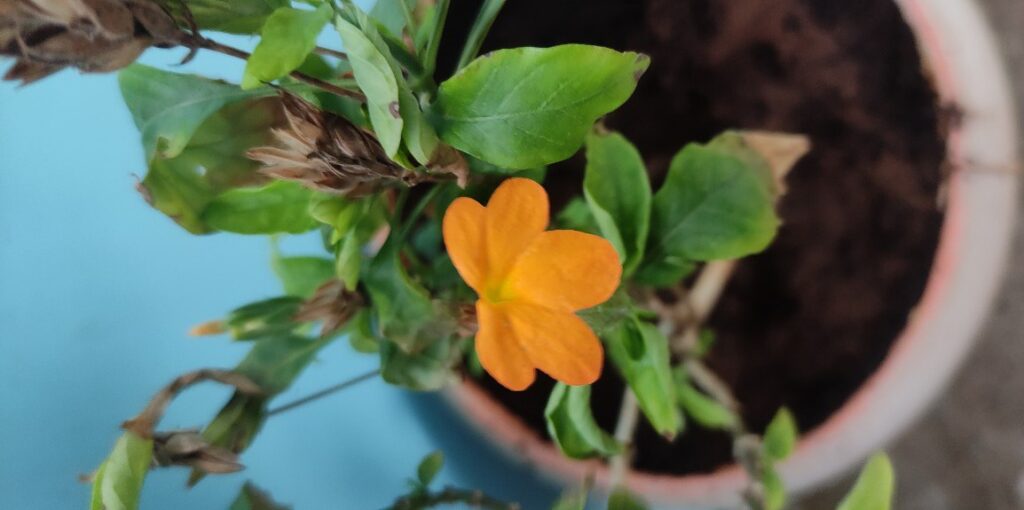
In my early gardening days as a ground gardener, I had no clue about liquid fertilizers. It was only after I seriously got into container gardening that I discovered their importance. Once I started exploring, I was honestly overwhelmed by the sheer number of synthetic liquid fertilizers labelled as “all-purpose,” “quick bloom,” or “instant growth.”
Curious and hopeful, I tried a few of these on my flowering plants in pots—and ended up burning most of them. That was a harsh lesson. Scared and disappointed, I paused using liquid fertilizers for a while.
But a few years later, I gave it another shot—this time, for my foliage plant collection, which needed gentle nutrition. Since adding heavy fertilizers to potting mix wasn’t an option for foliage (especially during humid seasons when it causes fungal issues), I turned to liquid options again.
I started with seaweed extract fertilizer, which has since become my go-to liquid fertilizer for foliage plants. It’s gentle, organic, and easy to use. I dilute it in water and feed it once a month. For heavy feeders or during active growing seasons, I increase the frequency slightly. I even use the bottom watering method with seaweed fertilizer for my seedlings to avoid shocking the roots.

Seaweed liquid fertilizer is made from marine algae and is packed with macronutrients, micronutrients, plant growth hormones, vitamins, antioxidants, and bioactive compounds. It’s a complete tonic that:
Supports overall plant growth and flowering
Boosts nutrient uptake in potted plants
Strengthens plant immunity and stress resistance
Enhances seed germination rates
It’s one of the best multi-purpose organic liquid fertilizers that’s safe for foliage, flowers, and edible plants.

Along with seaweed, I also recommend fish emulsion fertilizer. It’s kind of like bone meal for marine life—made from fermented parts of fish like bones, scales, and guts. In sustainable farming, fish pond water is often used to feed crops. So yes, fish emulsion is a trustworthy liquid source of NPK nutrients.
It has a distinct smell, but the benefits are real, especially for vegetable plants in containers and hungry flowering plants.

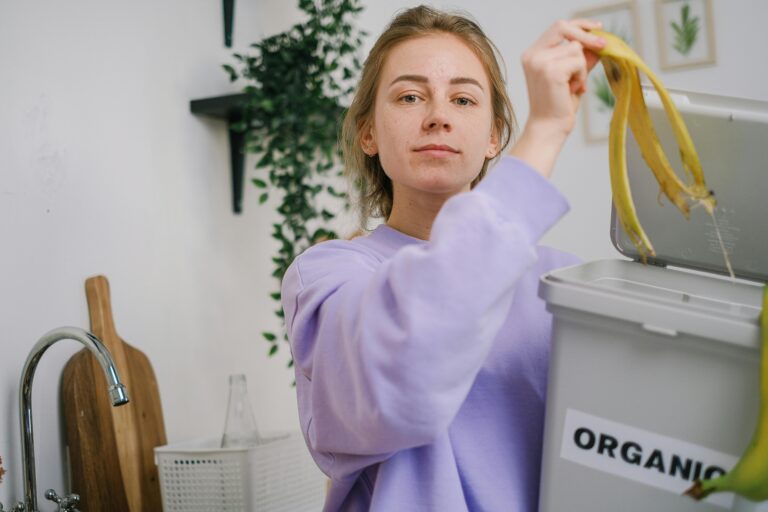
If you’re composting, you can also try compost tea—a gentle and beneficial liquid fertilizer when diluted properly. Yes, there are lots of DIY liquid fertilizer recipes online (like banana peel water, onion skin tea, or rice water), and I’ve tried several. But truthfully? I sometimes messed up the process—either making it too strong or causing fungal issues—and sadly, I lost a few plants.
So, if you’re just starting or want a safer route, stick to trusted organic options like seaweed or fish emulsion. They’re beginner-friendly and effective.
Remember: no matter what liquid fertilizer you use, always dilute it. The dilution ratios are mentioned on the labels, and I’ll also share a simple cheat sheet at the end of this blog.
Let’s keep it simple and safe for your plants and peace of mind.

General Rule of Thumb:


1 tablespoon of liquid fertilizer
Mixed into 1 litre of water
(or adjust based on manufacturer instructions)

Plant Type | Growth Stage | Dilution Ratio | Frequency |
Active Growth | 1:10 | Once every 4 weeks | |
Flowering Plants | Budding/Blooming | 1:10 or 1:8 (stronger) | Every 3–4 weeks |
Seedlings/Cuttings | Early Stage | 1:20 (very dilute) | Once every 2 weeks |
Dormant/Resting Phase | Any Plant | Avoid fertilizing | — |

Always moisten the soil before applying liquid fertilizer.
For humid or monsoon seasons , dilute even more (e.g., 1:15) to avoid salt buildup.
If unsure, start weaker—you can increase gradually. Plants recover better from underfeeding than overfeeding.
💸 Why It’s Budget-Friendly & Beginner-Proof
Why Is It Budget-Friendly?
Liquid fertilizers are more affordable than many solid or granular options, especially those fancy ones labelled “fast-growing” or “all-in-one miracle.” But here’s the truth: you don’t need every fertilizer that influencers or AI tools suggest. Just be mindful of what your plants need and choose the right liquid fertilizer based on plant type and growth stage.
One of the best things about liquid fertilizers for container gardening is how space-saving they are. These come in small bottles, which means you don’t need to worry about bulk storage or how to safely keep them like you do with heavy bags of granules.
Also, liquid fertilizers tend to have a longer shelf life than solid fertilizers, making them great for long-term use. For example, I’ve used a single 100 ml bottle for nearly two full growing seasons with over 60 plants! It’s efficient, cost-effective, and very beginner-friendly.
Why Beginners Love Liquid Fertilizers
If you’re just starting with urban gardening or balcony pots, liquid fertilizers are a low-risk option:
Easy to dilute with water
Can be applied during regular watering
Quickly absorbed by plant roots
One small bottle goes a long way
Available in budget-friendly organic options
Less risk of over-application when following dilution ratios
You can even use the same diluted liquid fertilizer as:
A soil drench
A foliar spray (directly on leaves)
A seed soak to improve germination rates
If you’re feeling adventurous, there are also some great DIY liquid fertilizer options like compost tea, banana peel water, or onion skin tonic—but always test in small doses to avoid overfeeding.
🧪 DIY Liquid Fertilizer Cheat Sheet (Beginner Safe)


Best for: All plants (general growth booster)
How to make:
Add 2 cups of mature compost to 5 litres of water
Let it steep for 24–48 hours (stir occasionally)
Strain well before use
Dilution Ratio: 1:5 (1 part compost tea to 5 parts water)
Use as: Soil drench or foliar spray once every 15 days

Best for: Flowering plants, tomatoes, peppers
How to make:
Chop 2–3 banana peels and soak in 1 liter of water for 3–4 days
Strain and use immediately
Dilution Ratio: 1:2 (1 part banana water to 2 parts water)
Use as: Monthly soil drench during flowering/fruiting stage

Best for: Leafy greens, herbs
How to make:
Collect onion skins (2–3 onions)
Boil in 1 liter of water for 15 minutes
Cool, strain, and store
Dilution Ratio: 1:3
Use as: Fortnightly soil feed or foliar spray

Best for: Seedlings, foliage plants
How to make:
Use water left after washing or boiling rice
Let it cool and ferment 1–2 days (optional for stronger mix)
Dilution Ratio: 1:2
Use as: Gentle feed every 10–15 days for seedlings

Best for: General growth, mixed pots
How to make:
Soak leftover vegetable peels (no citrus/onion) in water for 3–5 days
Strain and use immediately
Dilution Ratio: 1:4
Use as: Monthly soil drench

Always strain thoroughly to avoid clogging watering cans or sprayers
Label jars with date and ingredients
Use within 7 days if not fermented or stored in the fridge
Avoid direct foliar spray during peak sun hours
Test before applying to sensitive plants
🌱 Which Plants Responded the Best
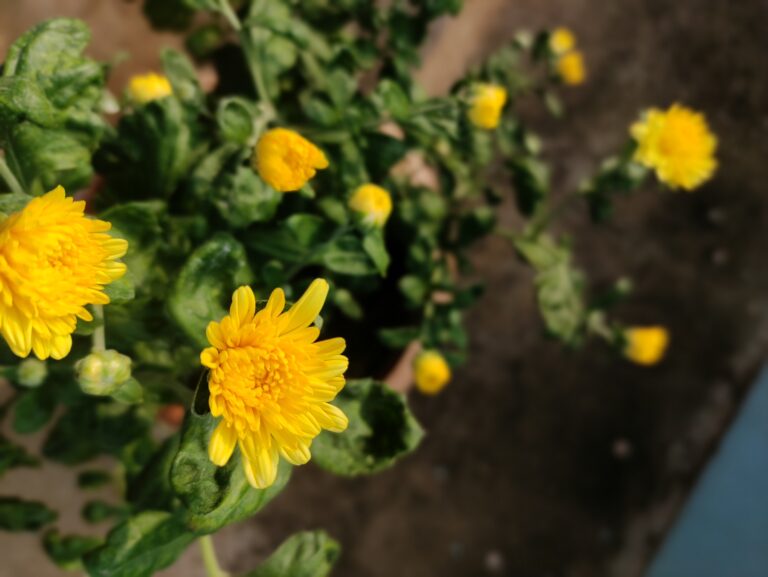
Most of my potted plants respond really well to organic liquid fertilizers, but the results heavily depend on two things: the dilution ratio and the timing of application. To avoid overfeeding, I always recommend tracking your feeding schedule, especially if you’re applying liquid fertilizer monthly for active foliage growth.


Avoid mid-day feeding right after watering or on dry soil
Choose early morning when the soil is lightly moist but not soggy
Feed at the base of the plant or use the bottom watering method
Avoid overhead sprays to prevent salt buildup on leaves

Foliage houseplants take up diluted organic liquid fertilizers really well. I’ve seen:
Healthier, greener leaves
Stronger root systems
Increased disease resistance
Feeding them once every 4–6 weeks during the growing season gives visible results. Just remember to adjust based on season and climate.

My flowering plants respond well too, but during heavy blooming seasons, they often need a bit more support like:
Solid organic fertilizer blended into the potting mix
Rich, well-draining soil with compost or organic matter
Liquid feeding as a supplement, not a primary source
This combo keeps the blooms vibrant without stressing the plant.

These are some of the easiest and most rewarding plants to feed with liquid organic fertilizers. I’ve had great results with:
Lush, fast-growing leaves
Steady, balanced production
Low risk of burning when diluted properly

Here’s where liquid fertilizers hit a limit. While they help in the early growth stages, fruiting plants like tomatoes, peppers, and eggplants need more:
Slow-release solid fertilizers that stay in the potting mix
Nutrient-rich soil with organic matter for long-term feeding
Occasional liquid boosts during flowering and fruiting, but not alone
These plants are heavy feeders and rely on constant nutrient availability throughout their life cycle.

Seed soaking: Improves germination rate with mild diluted solution
Seedling stage: Apply diluted nitrogen-rich liquid fertilizer via bottom watering
Vegetative stage: Plants respond well to liquid fertilizers, just follow proper intervals

Minimum gap: 2 weeks
Maximum: 6 weeks
Overfeeding can cause root burn and stunted growth.
“Some plants just don’t thrive in pots, no matter how much care you give. Find out which ones to skip
❌ Mistakes to Avoid With Liquid Fertilizers in Containers
- Mixing Too Strong
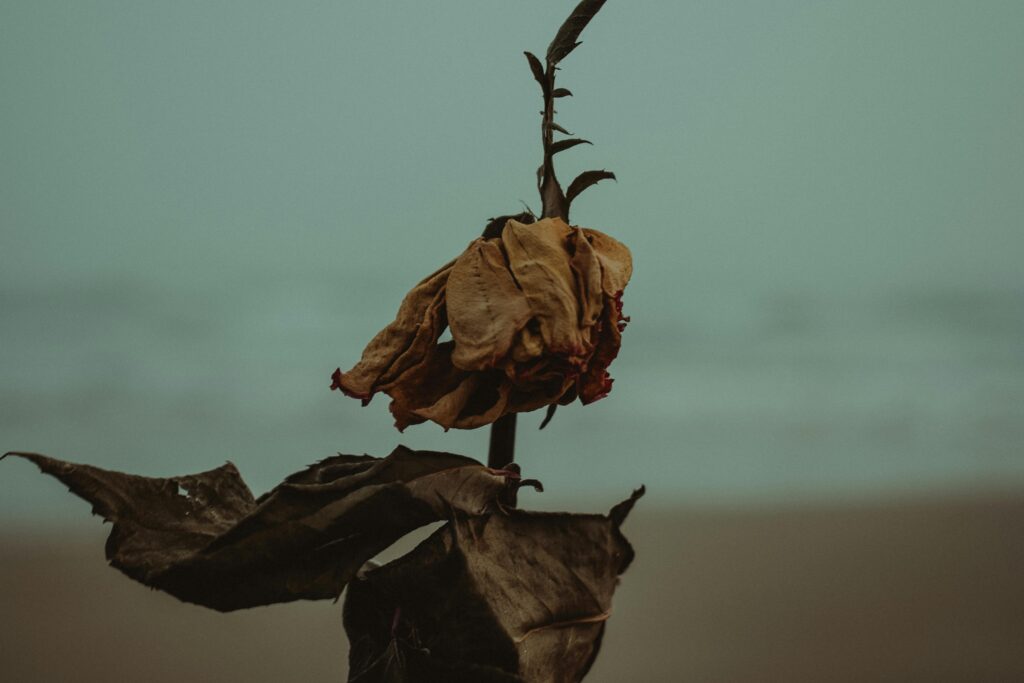
Being mindful of the dilution ratio in liquid fertilizers is crucial for container plants. Mixing with too much water can reduce the fertilizer’s effectiveness, while adding too little water fails to lessen the harshness of the concentrate. This can result in leaf scorch (burnt leaf tips), root damage due to salt buildup, and even dehydration of the roots. Over time, plants may show signs like yellowing leaves and wilting due to over-fertilization.
Overusing fertilizers can also damage the soil structure, causing salt accumulation that harms beneficial microbes and reduces fertility. In some cases, excess nutrients—especially nitrogen—can increase soil acidity, which negatively affects nutrient uptake in container plants. High nitrogen levels may also block the absorption of other essential nutrients.
How to fix it:
Water the soil thoroughly to flush out excess salts, ensuring proper drainage in pots. If the damage is severe, repot the plant using fresh potting mix. Trim only the damaged foliage—don’t remove all at once. Pause fertilizing for at least a month to let the plant recover.
Using on Dry Soil
Applying liquid fertilizer on dry soil leads to immediate salt concentration, creating a sudden rise in salinity. This causes osmotic stress on plant roots, leading to visible signs like leaf scorch, browning, and yellowing.
A hydrated potting mix ensures even absorption of liquid fertilizer. In contrast, dry soil prevents nutrients from reaching deeper roots, making the application ineffective. This also increases salt buildup, which takes longer for the plant to recover from once root stress begins.
How to fix it:
Always moisten the soil lightly before applying liquid fertilizer—don’t drench, just dampen. For dry soil, use a weaker solution by diluting the fertilizer more. Avoid feeding dehydrated potted plants directly, as it may cause further stress and root burn.
Too Frequent Feeding
Even with proper dilution, feeding too often can harm container plants. Symptoms like leaf burn, stunted growth, and weak foliage start to appear. The salt buildup affects the potting mix, leading to soil pH imbalance and reduced microbial activity. Overfeeding can even cause root rot due to excess moisture.
Also, frequent use of organic liquid fertilizers may attract pests, fungus gnats, and other bugs, inviting plant diseases and weakening overall health.
> Read this to treat pest problems organically
How to fix it:
Flush the soil deeply 2–3 times with water to remove excess salts and let it dry before the next regular watering. Ensure proper drainage holes in pots to prevent water stagnation. Repot if needed, and trim off damaged leaves or stems. To prevent overfeeding, follow a monthly feeding schedule and keep track of when you last fertilized.

Always dilute fertilizers as per instructions.
Never fertilize dry soil—moisten first.
Feed only during active growing seasons.
Track your feeding schedule to avoid overlap.
Improve pot drainage and flush salts regularly.

I keep it simple and seasonal. For most of my foliage plants, I use liquid fertilizer once a month—that’s enough to support healthy green growth without pushing them too much. They’re not heavy feeders, so a regular monthly routine works great.
For flowering plants, it’s a bit more dynamic. I combine solid organic fertilizers with liquid ones, but never too close together. During the non-growing season, I maintain a 6-week gap between feedings. But once they hit their active growing phase, especially in spring or early summer, I reduce the gap to every 3–4 weeks depending on how the plant is doing.

The secret to success in container gardening is listening to your plants and the weather.
Summer (early morning feeding): I fertilize once every 3 weeks, but only in the cooler hours of the day. The sun is harsh, so timing is everything.
Monsoon: I mostly skip fertilizing. The soil already stays moist, and overfeeding in high humidity can backfire. If I must, I go with a very mild dose every 8 weeks, only if the plant really needs a boost.
Spring: This is the power season. Plants wake up, roots stretch, and you’ll see new shoots and buds. I stick to a 3–4 week liquid fertilizer cycle to keep up with their growth.
Dormant seasons (winter or peak heat): I completely avoid liquid fertilizers. Let the plant rest. Feeding during this phase only stresses them out.

One of the simplest but smartest things I do is take photos of my plants before each feeding. Every 3 weeks, snap a pic. Over 2–3 months, you’ll start noticing subtle changes—leaf color, new shoots, fuller growth. That’s your evidence.
If you see:
Faded or yellowing leaves → might be underfed or root stress
Rapid, leggy growth → possibly overfed or imbalance
Healthy color, compact shape → you’re on the right track!
This method helps track plant growth after fertilizing, and it also tells you when to adjust your routine. No guessing.

Always moisten soil before feeding.
Follow a monthly feeding routine—but tweak it based on plant type and season.
Use weaker solutions in sensitive times like summer or after transplanting.
Combine organic and liquid fertilizers smartly—don’t overlap.
💬 Final Thoughts – No Perfect Formula, Just Real Results
If you’re new to using liquid fertilizers in container gardening, know this: there’s no one-size-fits-all formula. What works for my pothos might not work for your hibiscus—and that’s okay. Trial and error is part of the plant parent journey.
Don’t stress about getting everything “right” the first time. Instead, celebrate the small wins—that new leaf, stronger stems, or a brighter green than last month. That’s progress.
Take time to observe your plants, experiment with feeding intervals, and adjust as needed. Your balcony, your weather, your plant mix—all make your garden unique. The real growth comes when you find what your plants love.
📣 Want to try the liquid fertilizer that worked for me?
👉 Click here to check it out – it’s gentle, organic, and plant-approved!
💬 Let's Chat!
What liquid fertilizers have actually worked for your plants?
Drop a comment below—I’d love to hear your experience!
And if you’re figuring out your full container gardening routine, don’t miss these helpful reads:
Pingback: No-Fluff Guide to Container Gardening – Real Tips from 7 Years of Growing Experience