Why 2025 Felt Harder Than My Previous Gardening Years — Even With Experience
2025 felt unexpectedly harder than my earlier gardening years, despite having more experience. The simple reason was that, for many years, I hadn’t properly recorded what was happening in my garden.
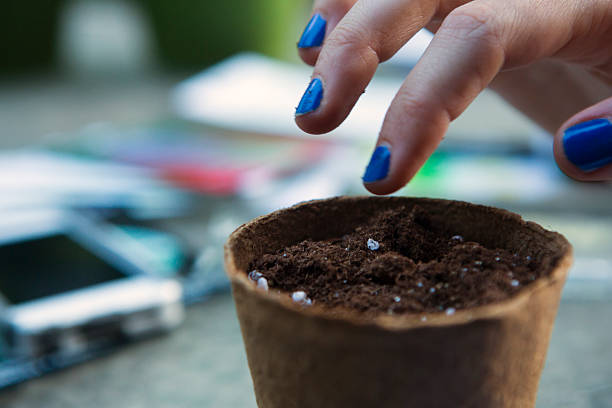
In my early gardening phase, I was just a gardening enthusiast, not a content creator. The idea of documenting my garden seriously only started around 2023. Before that, I took very few photos or videos, and most changes in my plants lived only in my memory.
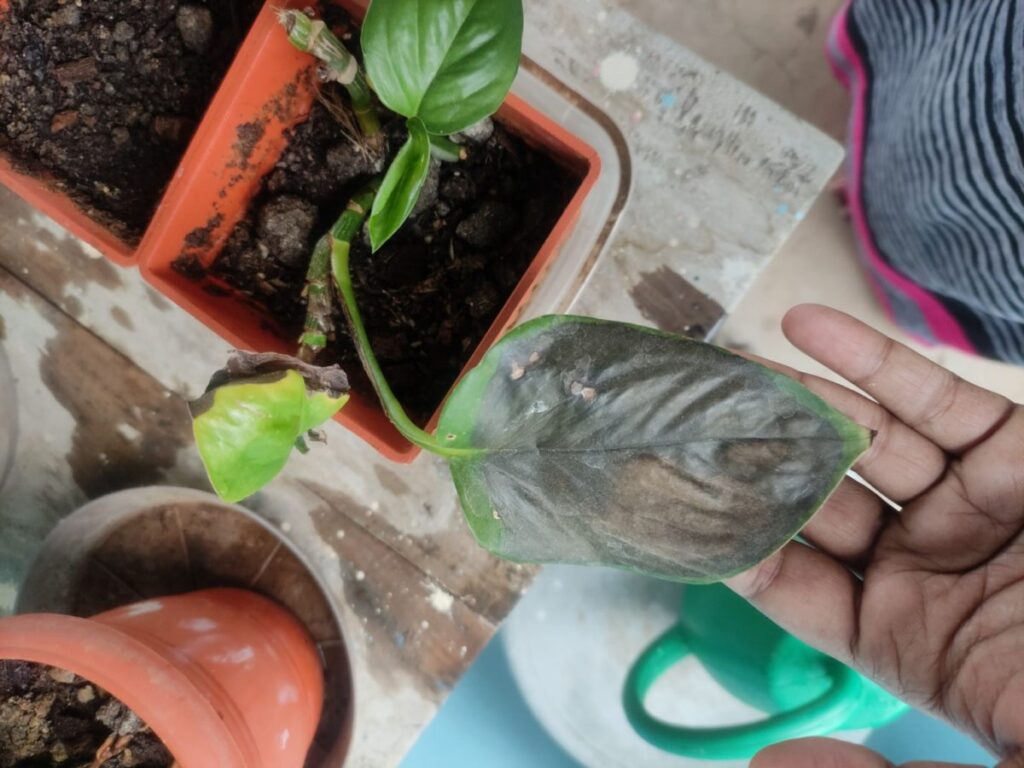
Because of this lack of record-keeping, I slowly forgot the small mistakes I had made in previous seasons. And without realizing it, I started repeating the same tiny care habits — the same watering patterns, the same soil assumptions, the same timing errors. When plants began to fail for the same reasons, it affected me deeply. Losing plants to mistakes I had already experienced once before was mentally exhausting.
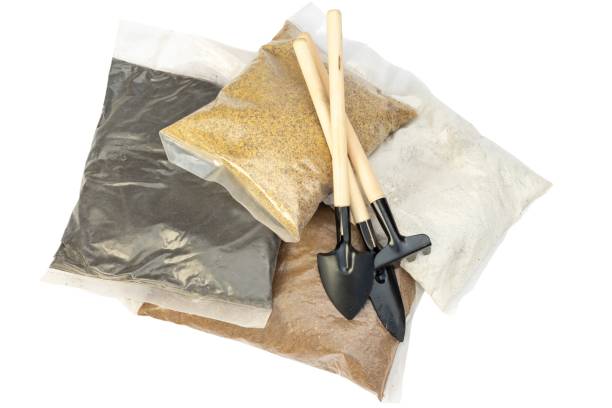
That’s when I understood something important: memory is unreliable in gardening, especially in container gardening, where climate, humidity, and pot conditions change subtly every year.
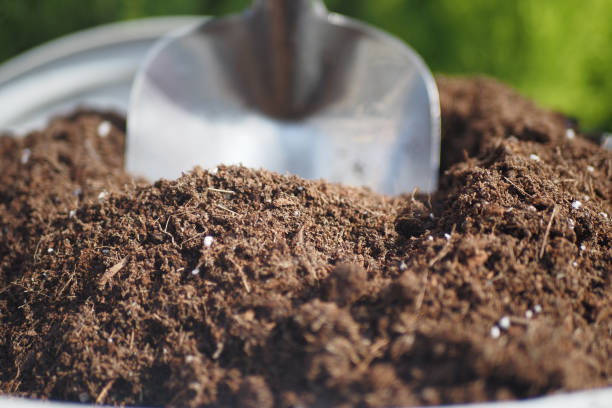
I realized that photos and videos alone were not enough. I needed a proper plant journal to track exact plant behavior — how soil reacted, how moisture stayed in pots, how plants responded to weather changes. I did have physical plant notes in hard copy form earlier, but I often forgot to update them or revisit them regularly.
Taking this personally, I shifted to maintaining a plant journal using Keynote, focusing on observations rather than aesthetics. Over the last month, this habit made me far more aware of my local climate patterns, plant responses, and recurring care mistakes. More importantly, it helped me stop repeating the same errors without understanding why.
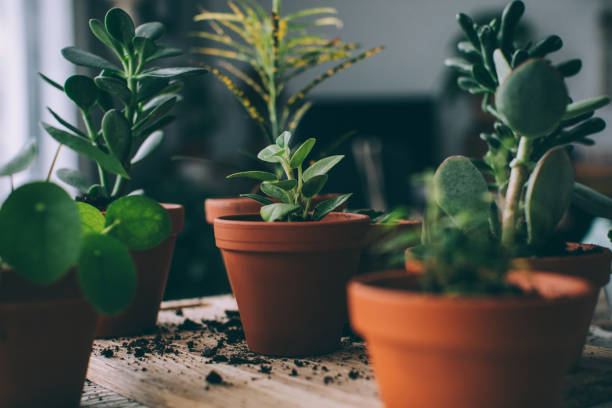
By the end of 2025, my thinking had changed completely. Gardening was no longer about reacting to problems — it became about tracking, reflecting, and preventing them. These lessons didn’t come from theory or trends, but from lived experience. And this shift is what will guide how I care for my container garden in 2026.
After 8 years of gardening, I realised some habits had to go — even the comfortable ones. Read the hard changes I’m making for 2026
Compost Outperformed Every Fertilizer I Relied On

Compost has always had its own place in gardening — whether it’s kitchen compost or vermicompost. In my experience, compost consistently does its job of supporting plant growth when it’s fed correctly and adjusted based on the season.
Unlike fertilizers that push visible results fast, compost works quietly. It improves the plant’s overall health instead of forcing growth. Over the years, I noticed that plants fed with compost were more stable, less stressed, and better prepared for seasonal changes.
Why Slow, Steady Nutrition Mattered More Than Visible Growth
I never relied heavily on chemical fertilizers. Most of my feeding came from organic, slow-release options like bone meal, blood meal, and eggshell powder — with very few exceptions for DAP or NPK during active growing seasons.
But in 2025, something changed.
This year, I used diluted compost mixed with cocopeat, fed at the right in-between frequency instead of fixed schedules. The result surprised me. Plants showed visible improvement — healthier foliage, better root response, and steady growth — without side effects like leaf burn, salt buildup, or sudden stress.
That’s when it became clear: slow nutrition, given consistently, worked better than occasional heavy feeding.
How My Feeding Mindset Shifted by the End of 2025
I was already using compost as a potting amendment in earlier years, but in 2025 I became more intentional. Instead of treating compost as a one-time soil mix, I started feeding compost regularly but in the right quantity, while rotating it with organic fertilizers like bone meal.
Fertilizer feeding requires understanding the plant’s growth stage:
- Vegetative and sapling stages need more nitrogen for foliage
- Root development depends on phosphorus
- Blooming and fruiting stages need targeted support
Once the active growing season ends and pruning is done, plants again need balanced nutrition to rebuild foliage. Compost fits into all these stages naturally.
So instead of relying on only fertilizers, I now alternate:
- One feeding with organic fertilizer
- The next feeding with compost
This approach reduced mistakes and kept my plants stable throughout changing weather.
Another major realization was soil health. Compost encourages beneficial microorganisms that improve soil structure, reduce compaction, and support better drainage. This alone helped me prevent many root and watering issues I faced earlier in the year.
By year-end, compost wasn’t just an option — it became my baseline feeding habit, with fertilizers used only as support.
🪴 Affiliate Recommendation (Soft, Trust-Based)
Compost I Use in My Container Garden
I personally use a well-decomposed organic compost suitable for container plants, as it blends easily, doesn’t compact the soil, and works well with cocopeat.
👉 [Check the compost I’m currently using → Affiliate Link]
Confused about when to use compost vs fertilizers?
I’ve shared my complete, season-wise feeding routine here:
👉 [My Fertilizer Schedule for Container Plants – What I Feed & When]
Neem Cake and Fungicide Became Preventive, Not Reactive

What Waiting for Symptoms Cost Me Earlier in the Year
Most of us treat pests or infections only after we see visible signs — and honestly, that is the correct approach when plants are checked regularly. The problem started when I missed checking my plants for nearly seven days at a stretch.
During winter monsoon conditions, that gap was enough. If one nearby plant had already been treated for mealybugs, the chances of spread were still high. Mealybugs don’t just stay on leaves — they hide in wooden table cracks, pot rims, wall corners, and tiny crevices around the garden space.
I noticed a frustrating pattern: when I treated one plant, another plant nearby would get affected soon after. It wasn’t because the treatment failed — it was because the environment was already hosting the pests.
That’s when it became clear that reacting plant by plant was not enough.
The Quiet Protection I Noticed After Changing My Approach
Instead of waiting for symptoms, I started working on preventing the next attack.
I added neem cake powder to the potting mix and also lightly to nearby pots when even one plant showed signs of mealybugs. This created a kind of protective buffer, reducing the chances of pests moving to the next plant.
If a plant was heavily affected, I sprayed diluted neem oil or a mild soap spray — not just on that plant, but also on the soil surface, nearby pots, tables, window areas, and surrounding spaces. I continued this routine at a 7-day gap for about one month to break the pest cycle completely.
Another important habit was checking plants every 2–3 days. This simple consistency alone prevented mealybugs from spreading silently. I also started deep-cleaning pots and nearby surfaces, because pests don’t respect pot boundaries.
One detail I can’t ignore anymore: ants. If ants are present near plants, they actively carry and spread mealybugs. Controlling ants became just as important as treating the pests themselves.
The same preventive mindset applies to fungal issues. While planting, I now add a small pinch of fungicide powder to the potting mix. During high-humidity months, I spray a diluted fungicide on the soil once a month. This helped prevent root rot and fungal buildup before they became visible problems.
By year-end, neem cake and fungicide were no longer emergency tools. They became quiet, preventive supports — reducing stress, panic treatments, and repeated plant loss.
Neem Cake Powder I Use for Preventive Pest Control
I use a fine, cold-pressed neem cake powder that mixes well into potting soil and doesn’t harden or smell strong. It helps reduce soil pests and acts as a preventive layer, especially during humid and winter monsoon periods.
👉 [Check the neem cake powder I’m currently using → ]
Fungicide I Use During High-Humidity Months
I use a mild, container-safe fungicide only in diluted form and mostly as a preventive step. A small pinch mixed during planting or a light soil spray once a month helped me avoid root rot and fungal stress during prolonged humidity.
👉 [View the fungicide I use for container plants → ]
Struggling with recurring pests like mealybugs?
I’ve shared my complete, step-by-step routine — from early signs to prevention — in this detailed guide:
👉 [Natural Pest Control for Container Plants – What Actually Worked for Me]
High Humidity Forced Me to Rethink How I Test Soil Before Watering

Why Dry-Looking Soil Misled Me in Humid Weather
During summer, when the topsoil dries, it usually means the entire potting mix has already dried. Water evaporates fast, and the signal is clear.
But monsoon and winter don’t work that way.
In humid weather, the topsoil can look dry because of dry winds, while the deeper potting mix remains moist — especially in plastic or other non-porous pots. This difference fooled me more than once.
This is where the usual finger soil test failed me. The top layer felt dry, but the inner soil was still holding moisture. When I watered again, thinking the pot was dry, it slowly led to root rot. That’s exactly how I lost my Syngonium.
The mistake wasn’t overwatering intentionally — it was misreading the soil in high humidity.
The Simple Soil Checks I Trust Now
In high-humidity weather, especially for smaller pots, I rely more on the weight method than the finger test. If the pot feels heavy, the soil is still moist. When it feels noticeably lighter, it’s time to water.
Another method I trust is using a small wooden stick or toothpick. I poke it 1–2 inches deep into the soil. If it comes out damp or with soil sticking to it, I wait. This gives a better idea of what’s happening below the surface.
Winter made this lesson even harsher. The topsoil often looks and feels dry, which tricks you into watering again. The worst part is that you don’t realize the damage immediately. You only notice it later — mushy stems, yellowing leaves, or a suddenly wilted plant.
By then, the problem is already inside the pot.
Learning to pause, test properly, and respect humidity changed how I water completely.
🌧️ Related Reading: Humidity-Specific Care
Struggling to manage plants during rainy or humid months?
I’ve shared detailed, experience-based tips here:
👉 [How to Care for Container Plants in High Humidity & Rainy Weather]
❄️ Related Reading: Winter Watering Mistakes
Winter watering feels confusing even after years of gardening.
These are the mistakes I stopped making:
👉 [Winter Watering Errors Indian Gardeners Should Avoid]
Pot Drainage Turned Out to Matter More Than Any Soil Mix

How Good Soil Failed Inside Poorly Drained Pots
This problem showed up mostly in plastic and other non-porous pots. Even when they had drainage holes, aeration was still poor. I couldn’t completely avoid these pots — they’re budget-friendly, lightweight, and honestly the dominant pot material in my terrace garden.
Interestingly, my front yard garden, which uses concrete pots, never faced serious overwatering issues. At the same time, my terrace containers struggled repeatedly with overwatering, root rot, and pests.
What made it more frustrating was that this happened despite using a well-draining, plant-specific soil mix. When good soil fails, you start questioning everything — but the issue wasn’t the mix. It was the pot.
What I Changed in My Containers by Year-End
I couldn’t throw away nearly 80 plastic pots — replacing them wasn’t practical. If I were buying new containers, I would gladly choose terracotta or fabric grow bags now. Earlier, I avoided them because of their weight and handling difficulty, especially as a slow, careful gardener.
Instead, I focused on fixing what I already had.
The biggest change was adding extra drainage holes to my existing plastic pots. This simple step improved both drainage and aeration. Over time, I noticed fewer waterlogged pots, reduced root stress, and better overall plant stability.
I’ve shared this exact fix in a short video showing how I modify plastic pots for better drainage.
That small change helped me rescue pots I once blamed for failed plants — without replacing my entire container setup.
Conclusion
2025 wasn’t about learning new tricks — it was about unlearning habits.
Habits that once felt harmless slowly became the reason my plants struggled. Watering without questioning, feeding without observing, reacting instead of preventing — these were patterns I had to consciously let go of.
Prevention, patience, and restraint became my strongest tools. Not because they produced instant results, but because they reduced panic. Checking soil before watering, treating pests before they spread, feeding plants slowly instead of pushing growth — these quiet choices protected my garden more than any quick fix ever did.
These lessons aren’t dramatic. There were no overnight transformations or viral gardening hacks. But they’re the reason my garden survived a difficult year. Survival itself became the success metric, especially when weather, humidity, and plant stress worked against consistency.
What I’m carrying forward into 2026 is not fear, but clarity. I trust my observations more than routines now. I’m less anxious about doing more, and more confident about doing less — at the right time. My garden doesn’t need constant interference. It needs awareness, timing, and respect.
That understanding changed everything.


