Introduction
Why the Perfect-Looking Pot Isn’t Always the Perfect-Growing Pot
Not all perfectly designed pots work the way plants need them to. Over my 7-year journey into container gardening, I’ve tried all kinds of pots—terracotta, concrete, plastic, grow bags, metal, fancy, cheap, and even those that looked like decor pieces from Pinterest. And I’m still learning with every new container that hits the market.
In the beginning, I went with typical nursery-bought terracotta and concrete pots. They looked sturdy, and I thought I was doing it right. But they were super heavy. As a solo gardener, lifting and moving them became a task in itself. Honestly, I stopped buying them years ago for that reason alone.
Then came my first ever online pot haul—48 pieces of 4-inch plastic pots. I thought I hit the jackpot! Back then, I was barely aware of how roots grow or how big the plant would become. I had this dreamy layout for my garden, thinking those small pots would be enough.
Reality check? Once the seeds sprouted and plants began maturing, around 20 flowering plants wilted. Why? Because I didn’t understand how to match plant growth patterns with the right pot size. Yep, one of my earliest and most expensive mistakes in choosing garden containers.
After that lesson, I moved on to 8-inch pots for both foliage and flowering plants. They’ve done well, and I still have some in use. But even then, a few cracked from sun damage—another factor I never thought about when buying.
Somewhere in between, I got lured by aesthetic planters—yes, the pretty ones without drainage holes. I planned my next disaster right there. I even bought saplings online (from legit plant shops), and while some did well in round pots with proper drainage, others… didn’t survive. The hanging plants in those aesthetic pots got soggy, smelled awful (seriously, I almost threw up), and 6-7 of them developed root rot. To top it off, it spread disease to nearby healthy plants.
While cleaning up that mess, I broke more pots than I care to admit. Lesson learned the hard way.
So here’s the thing—when it comes to container gardening tips, don’t just chase the prettiest planters. Be smart about pots for container gardening. Look at drainage, material, weight, durability, and how they’ll fit your space and your plants’ needs, not just your Pinterest board.
Want to know how to choose the right containers without repeating my mistakes? Keep reading this blog post—I’m sharing all the messy truths and what finally worked in my garden.
Common Misconceptions About Containers


Is Bigger Always Better? Not Really!
It’s one of those garden pot myths many of us believed, including my past self. The logic sounds simple: a bigger pot means you won’t have to water often or replant frequently, right? But here’s the reality check—if the pot is too big for your plant, the soil volume exceeds what’s necessary. That means the excess soil holds more moisture than your plant needs.
More moisture = more chances of root rot.
More space = more potting mix = more compost or manure = a risk of over-fertilising and burning the plant.
The best pots for beginners, unless you’re growing deep-rooted or root vegetables, are ones that are just 2 inches bigger than the root ball of your plant. That’s it. For root veggies, you’ll need a deeper container—tall planters work well—and again, just 2 inches wider than the root base is usually enough.
Repotting when the plant starts maturing is honestly a better choice than choosing a huge pot from the start.
Are All Containers the Same? Not.
One of the mistakes to avoid in container gardening is assuming all pots are made equal. Here’s the thing:
Change the shape of the pot, and the soil depth changes.
Change the material, and the internal temperature changes.
Skip the drainage, and you’ve just bought yourself a plant problem (okay, that one’s half a joke—but your plant won’t survive).
The shape, colour, size, and functional features of the container impact how your plant grows. Once you get the hang of your plant’s needs and observe your space, you’ll know which pots work best in your garden setup.
Are Clay Pots Superior? My Honest Answer: Nope.
A few years ago, terracotta (mud) pots were affordable, even if they were bulky and hard to move. But now? They’re pricier due to demand and limited availability. If you’re someone who equates sustainability with buying only terracotta pots, that’s okay. They’re breathable and natural—but they’re also fragile, heavy, and tricky when they don’t have drainage holes.
I don’t recommend clay pots for gardeners on a budget. Instead, I go for plastic pots in terracotta color—they’re light, durable, and easy to manage. If you’re concerned about the environment, choose recycled plastic and dispose of unused plastic responsibly. That helps the planet more than breaking your back with heavy pots.
I started with clay pots, too. But I’ve dealt with mould, breakage, and the sheer hassle of lifting them alone.
Drainage Holes: Not Optional—They’re Essential
Let’s make this super clear: drainage holes are not an extra feature—they’re a survival tool for your plants. These holes drain out excess water, prevent soggy soil, and help the roots breathe by keeping the potting mix aerated.
Skipping drainage holes can cause:
Water pooling
Root rot
Foul smells
Soil-borne diseases
Snail and pest invasions
Want a clean and thriving garden? Prioritise pots with good drainage. If your aesthetic pot doesn’t have one, use the double pot method or just drill a hole. Unless you’re growing aquatic plants, a container without drainage is a slow death sentence for your greenery.
Key Factors to Consider Before Choosing a Container


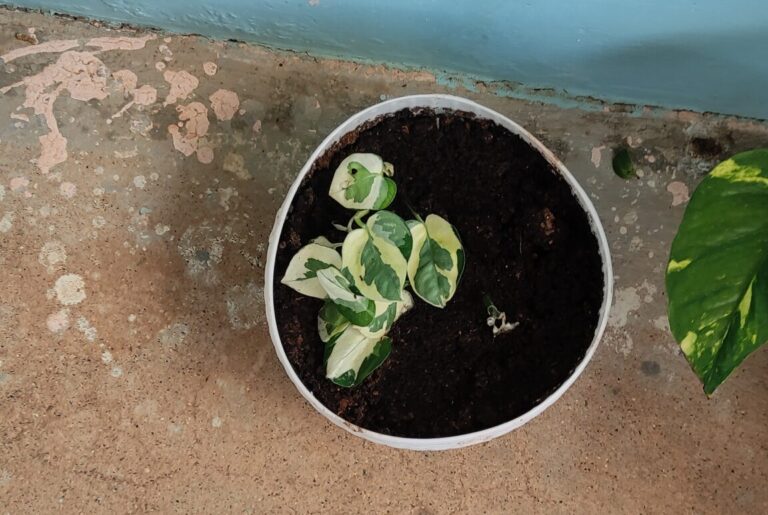
Plant Type & Root Depth
When it comes to choosing pots, don’t just look at the plant’s mature size. The best pot size for plants is based on the root system, not the plant’s height or fullness. If your plant has a 2-inch root ball, a 4-inch pot is perfect. Choosing an 8-inch pot for it? That’s overkill and can lead to trouble like overwatering and soggy soil.
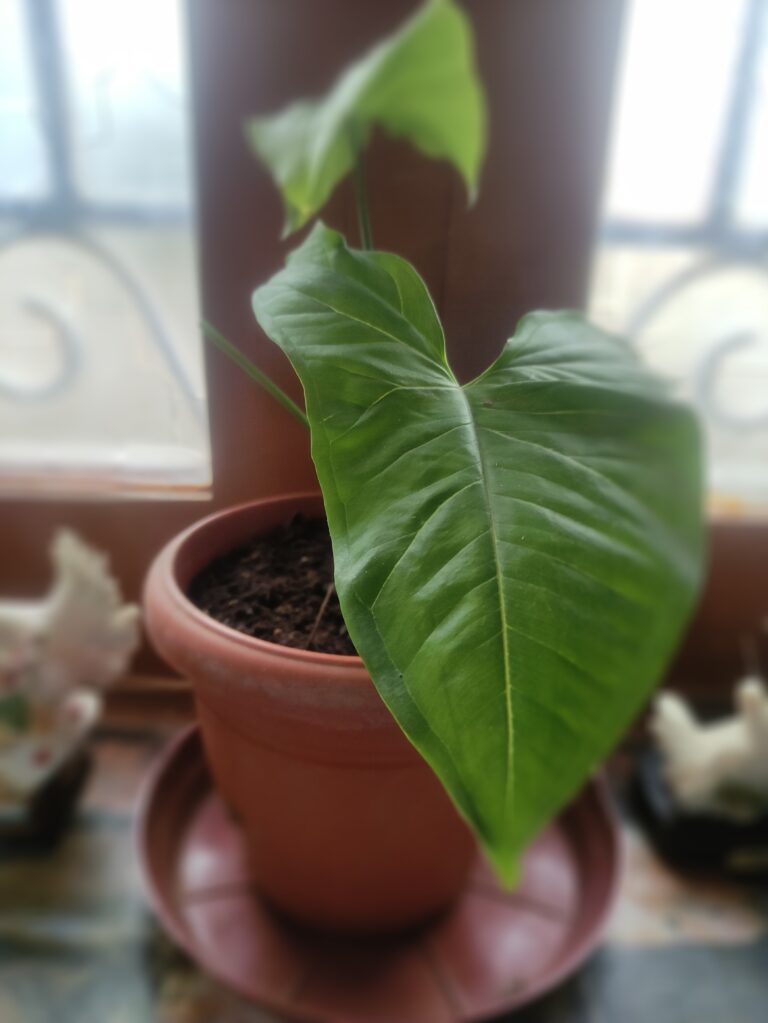
Repot when the plant grows bigger and the root ball fills out. Easy fix.
But this rule doesn’t apply to root vegetables like carrots, beets, radishes, and potatoes. These grow in the soil, not above it—so they need depth, not width. Go for tall grow bags or deep containers. The same goes for deep-rooted plants that grow straight down. For these, choose narrow, deep pots—they hold more soil, which supports the roots better.
In contrast, shallow-rooted plants do fine in lightweight containers with less soil but will need more frequent watering. Wide, shallow pots are your best bet here.
Drainage Needs
Drainage pots for gardening are essential—always. The size and number of drainage holes matter. Too small? They clog easily. Too big? The soil might spill out, and the water drains too fast.
Natural porous pots like clay and ceramic breathe well, but still need drainage holes. Plastic pots? Super easy to fix—just use a soldering iron or even poke extra holes with a hot nail. Fibre pots can be drilled too. Glass and metal pots are trickier, so for those, I use the double pot method (place a pot with drainage holes inside one without).
Sun Exposure & Heat Retention
Materials react differently under the sun. Clay and concrete pots hold up well—they’re strong with good heat retention and don’t fade easily. Perfect for outdoor gardening, although they’re heavy.
Plastic, ceramic, or grow bags? Avoid direct sun exposure. I’ve placed my plastic pots in the sun for years—some faded, yes—but good quality UV-resistant plastic pots didn’t break easily. Designer plastic pots? They look great, but many don’t last in full sun. Choose function over fancy.
Weight & Mobility
If you’re a solo gardener like me or growing on a terrace or balcony, lightweight containers make life easier. I exhausted myself moving heavy clay and concrete pots in the beginning.
Now? I go for quality plastic pots, grow bags, or resin and fibreglass pots. Durable, light, and easy to shift around when I need to rearrange or clean the space.
Budget Constraints
On a tight budget? No worries. Reuse what you have—old kitchen containers, paint buckets, food jars, or beverage bottles. Turn them into planters. Get creative and make them pretty. It’s budget-friendly, sustainable, and you’ll be surprised how well it works.
Over my 7 years of container gardening, I’ve learned a simple truth—don’t fall for looks alone. I’ve managed most of my plants in clean, sturdy plastic pots (my fav). I made my drainage holes when needed. I never tossed a pot until it completely gave up. Sure, the pot should look good, but it must suit the plant’s needs first.
Pros & Cons of Different Container Materials


Plastic
Plastic pots are my first choice—and for good reason. They’re affordable, come in a wide range of sizes and designs, are super lightweight, and easy to move around. If you’re just getting started, this is one of the best pot materials to experiment with. The downside? They’re not breathable, and prolonged sun exposure can cause them to fade or crack. However, I’ve discovered some easy fixes: use a well-aerated soil mix, drill extra drainage holes if necessary, be mindful of watering, and avoid placing them in direct sunlight for too long.
Terracotta / Clay
Let’s talk plastic vs clay pots. Clay pots have this earthy, natural charm. They’re breathable, sustainable, and hold up well in outdoor gardens, especially under strong sunlight. But they come with a list of issues too: they dry out faster (so you’ll water more often), algae can build up in wet weather, they’re heavy to move around, and they can easily crack or break. Plus, they’ve become expensive and harder to find online lately. Still, if you’re after a traditional vibe and don’t mind the maintenance, they’re a solid choice in the types of pots for container gardening. Buy the Clay pots from a nearby vendor or nursery, as online nursery pots are often smaller and more expensive.
Ceramic
Ceramic pots are the aesthetic pick. They’re breathable like clay and look gorgeous in balconies or patios. But from a sustainability point of view, it’s a 50-50, mainly because of the chemical glazes used for that glossy finish. Many don’t come with drainage holes (you’ll need to check or add them), and they’re fragile. Also, size options are limited, and they tend to be pricey. Choose ceramic if you’re going for looks over function, but be prepared to handle them gently.
Fabric Grow Bags
I’ve used both fabric grow bags and plastic grow bags, and I can confidently say they’re great for vegetables, herbs, and seasonal plants. These bags are deep, breathable, super light, and easy to store when not in use. The catch? They don’t last forever. After a few growing seasons, wear and tear kick in. So while they’re not as sturdy as plastic or terracotta pots, they’re a fantastic option for temporary setups and budget-conscious seasonal gardening.
Metal
Metal planters (decor) —like galvanised steel, aluminium, and iron—have made their way into the gardening world mainly for their sleek, modern aesthetics. They’re sturdy and long-lasting if you care for them. That means proper drainage (either built-in or using the double pot method) and avoiding water stagnation to prevent rust. The cons? The metal pots for outdoors heat up fast under the sun, may rust over time, and can dent. Still, among the types of pots for container gardening, these stand out for their look and durability—if you’re ready for the upkeep.
Wood
Even though I’m not really into decorative pots, I do appreciate the rustic charm that wooden planters add. They blend naturally into garden setups, can be painted or stained to suit your space, and offer better insulation than plastic or metal. In the plastic vs clay pots debate, wood offers a middle ground. It’s also one of the more eco-friendly options after terracotta, grow bags, or coco coir. But wooden pots need regular maintenance to resist moisture and termites. They’re heavy—sometimes even more than concrete—and not exactly cheap or easily available.
Each pot material has its pros and cons, and no one-size-fits-all solution. After years of trying out everything, I’ve realised that choosing the best pot materials depends on your garden’s setup, your watering habits, your plant type, and how much effort you’re willing to put in.
Choosing the Right Size: How to Not Overwhelm Your Plant


Matching the pot size with your plants might sound like overthinking, especially if you’re a beginner. But if you ask any experienced gardener, they’ll tell you: matching the planter size to your plant’s growth stage does matter. The right pot size impacts moisture retention, nutrient availability, and most importantly, gives the roots room to grow.
Let’s break it down.
For seeds, using seedling trays is the best way to start. I bought one years ago without knowing that trays with covers help maintain humidity and boost germination. Since then, I have always preferred trays with covers—they make a difference.
Once your seeds sprout and enter the vegetative stage, you can shift them into 4-inch nursery pots—ideally, ones with good drainage. This size works great for growing cuttings or young saplings, too.
When your plant grows to about 1 foot tall or you start seeing roots peeking through the drainage holes, it’s time to upgrade the pot size. A good rule is to choose a pot that’s just 2 inches bigger than the root ball. Not more.
Signs Your Plant Needs a Bigger Pot:
Soil dries out quickly, even with good watering
Stunted or slowed growth
Roots are poking through the drainage holes.
Leaves are yellowing or drooping.
The soil looks compacted or hard.
If you notice any of these, your plant is probably asking for more room. But don’t go overboard.
Common Pot Size Mistakes to Avoid
One of the most common mistakes is jumping from a 6-inch pot to a 12-inch one. That’s too much soil for the root system, which causes water to stay too long, leading to root rot or over-fertilising problems. Stick to the 2-inch upgrade rule for best results.
Also, don’t repot during dormancy—plants recover more slowly during this phase. And before transplanting, don’t just plop the root ball into a new pot. Loosen the roots gently to avoid a root-bound situation.
And please—don’t repot every time you want a new aesthetic. Frequent repotting, especially for visual reasons, stresses the plant. It needs time to recover and settle after each move.
My Quick Pot Size Guide:
Here’s a simple guide that works for most vegetables, herbs, and houseplants based on my 7 years of trial and error:
4-inch pots: Best for seedlings, saplings, shallow-rooted herbs and succulents
6-inch pots: Great for small indoor plants, succulents, and annual flowering plants
8-inch pots: Ideal for most foliage plants, flowering plants like mums, leafy greens, and chillies
10-inch pots: Suitable for vegetables (like brinjal, okra), small fruiting plants, and larger flowering plants
12-inch pots: Perfect for compact veggies, creepers, and beginner-friendly fruiting plants like strawberries or tomatoes
14-inch and above: Use for potatoes, carrots, dwarf fruit trees, climbers, and other deep-rooted or large plants
Choosing the right planter size is more than just fitting the plant—it’s about supporting its growth journey. Whether you’re growing vegetables in pots, nurturing herbs on a balcony, or building a full-fledged container garden, this pot size guide for vegetables and herbs is your shortcut to healthy roots and happy plants.
Drainage: The Non-Negotiable Element
I was surprisingly conscious about drainage hole importance even before I knew the science behind it in container gardening. But experience teaches more than instincts. I’ve dealt with tiny drainage holes that clogged up with salt buildup, and large ones that drained out not just water, but the soil too. And yes, I’ve been guilty of skipping the hole-drilling part—especially when dealing with a big batch of pots.
You’ll know your pot has poor drainage when water starts pooling on the surface, the plant smells weird, the roots turn mushy, and overall growth seems frozen. These are your red flags. If you spot any of these, check the bottom of your pot immediately, and fix pots without drainage holes as soon as you can.
What to Do If Your Pot Has No Drainage Holes
If you’re using plastic pots, resin pots, or fibre planters, the best tool you can invest in is a soldering iron. It’s not a waste at all—I’ve used it for years to poke clean, neat holes in seconds. You can also use a heated screwdriver or drill for the same.
For terracotta pots, soak them in water before making holes. This softens the material and reduces the risk of cracks. A sturdy metal nail or a sharp stick can do the job gently.
When it comes to ceramic or glass pots, I personally never risk drilling them—they’re too fragile and expensive to replace. Instead, I use the double pot method: placing a smaller pot (with drainage holes) inside the decorative outer pot. It hides the mess and saves the plant.
The double pot method is also ideal for metal pots, especially the ones used for aesthetics. It avoids rust buildup, helps maintain moisture control, and still keeps your garden visually pleasing.
Quick Tips on How to Drill Plant Pots
For plastic, fibre, or resin: use a soldering iron or heated tools.
For terracotta: soak and poke with a sharp stick or nail.
For ceramic/glass: avoid drilling, use the double pot method instead
For metal, drilling takes effort—the double pot method is safer.
No matter how good the pot looks, if it doesn’t support proper drainage, it’s going to harm your plant sooner or later. Good drainage is the foundation of healthy container gardening. Don’t ignore it. The holes at the bottom may be out of sight, but they’re what keep your plants alive.
Budget-Friendly Container Ideas (That Actually Work!)
If you’re just starting out in functional gardening and feel a little tight on budget, don’t worry—your green thumb doesn’t need to be expensive. In fact, many experienced and even full-time gardeners rely on repurposed garden containers instead of store-bought planters. When you’re dealing with a large garden layout or need bigger pot sizes that are often hard to find or costly, reusing items you already have at home becomes not just smart but necessary.
One of my top suggestions for cheap gardening pots is used paint buckets. Don’t throw them out after painting your house—just let them dry completely, drill a few drainage holes, and they’re ready to go. These make great DIY containers for medium to large plants. For smaller needs, food containers are perfect substitutes for small pots—great for succulents, small herbs, or saplings.
Another favorite of mine is glass coffee or tea jars. Once cleaned well, they make beautiful water propagation jars or even mini vases. If you enjoy simple DIYs, try turning plastic water bottles into self-watering pots—a fantastic way to reuse plastic and grow plants with less fuss.
You can also use small buckets or takeout containers to grow foliage plants, small flowering plants, or shrubs. For those looking for large recycled plant containers, slightly damaged water drums, old watering cans, or even filter water jugs can be creatively repurposed. Check with local scrap dealers—you might be surprised by what you can find for a fraction of the cost.
For the creatively inclined, almost anything can be turned into a DIY plant container. With a little inspiration from Pinterest and some hands-on creativity, you can decorate and transform old household items into unique and stylish garden planters. It’s an eco-friendly, budget-conscious way to garden and a great way to express your personality in your garden space.
Remember: functional gardening doesn’t mean expensive gardening. Repurpose, recycle, and get creative—because budget gardening ideas often lead to the most rewarding green spaces.
Maintenance Tips for Long-Lasting Containers
How to Clean and Store Pots Between Seasons
This was one of my earliest doubts too—what to do with all those pots once the layout of your garden changes and they start piling up. That’s when I learned how essential it is to clean and store them properly. A little maintenance goes a long way in reusing pots season after season.
For simple garden pot maintenance, start by scrubbing off any leftover soil and dirt using stiff brushes. After that, wash them using a dishwashing scrubber with regular dish soap. Let the pots dry completely—no moisture at all—before stacking. Moisture can cause mold or damage, especially in certain types of pots.
Once clean and dry, stack similar-sized and shaped pots together. This keeps them organized and saves space. Storing small plant pots inside large plastic bins is a great way to keep things tidy and easy to access. For bigger garden containers, stack by size and store in a dry, shaded area. If you can, use vertical shelves or storage racks to reduce clutter and make the most of your space.
This basic method works for most types of garden pots, but some materials need special care:
Ceramic, glass, or decorative pots: Be gentle. Avoid abrasive scrubbers to prevent scratches. Wrap them in newspaper or soft paper and store them in cardboard cutouts or sturdy boxes in a safe, stable place. These types are more prone to cracks and breakage if mishandled.
Wooden planters: Skip the soap and water. Just scrape off the dirt gently and wipe with a damp cloth. Let them air-dry fully, and if needed, apply a fresh coat of paint or sealant to protect the wood from rotting.
Metal planters: Avoid metal scrubbers, as they can scratch the surface. Clean gently and make sure they are completely dry to prevent rust. Stack them separately and make sure they’re not tightly packed to avoid dents.
To maintain garden containers during use, regularly clean the bottoms of the pots—even if you’re using trays—to prevent salt buildup, ant infestations, or algae growth. If you notice any cracks, dirt, or algae stains, clean them immediately before they worsen. Avoid watering with high pressure to prevent soil splashes that dirty the pot’s surface.
For long-term pot care:
Keep pots out of direct sunlight as too much exposure can cause fading or cracks—especially in plastic or ceramic pots. Rotate them occasionally to balance out the wear and tear.
Don’t overcrowd your garden space with too many pots close together. Crowding encourages termite, ant, or bee nests—all of which you want to avoid.
Once a month, do a quick check and clean-up. This habit helps catch issues early and keeps your pots in great shape.
With these easy steps, cleaning plant pots and storing them becomes second nature. I still have plastic pots that have lasted over six years, and they’re still going strong—just because of a little attention and care. These small habits really extend the life of your garden gear.
Final Thoughts: Don’t Wait for the Perfect Pot


There’s really no such thing as a perfect pot—at least not until you understand what your plant actually needs and how those needs fit with the pot’s features. And honestly, you’ll only figure that out through hands-on experience. So don’t hold back—starting container garden tips always include this one truth: it’s okay to begin with imperfect choices.
Experimenting with different types of pots, making mistakes, and learning from them is all part of your container gardening journey. That’s exactly why I wrote this blog—to help you avoid unnecessary spending and get clarity on what to look for in a pot before buying one. But even if you’re unsure, it’s still okay to try out any container. You’ll learn what works and what doesn’t as you go.
The perfect pot is simply the one where your plant grows and thrives, not necessarily the prettiest or most expensive. So start with what you have—recycled pots, repurposed containers, cheap plastic pots, or anything functional. Don’t worry if it doesn’t look like something from a magazine.
When you’re using beginner gardening containers, the key is to focus on plant health, not just aesthetics. A good-looking pot may catch your eye, but it’s the right drainage, size, and material that truly supports plant growth. Always be mindful of functionality over appearance.
Remember, the heart of gardening is nurturing—not perfection. So grab that old bucket, coffee jar, or food container and just get started. Every pot teaches you something, and that’s what makes your garden uniquely yours.
🌱 Love container gardening?
Discover more real-life tips, creative ideas, and down-to-earth solutions on the blog.
💬 Got questions or want to share your own garden story?
Contact me here — I’d love to hear from you!
👩🌾 Curious about who’s behind My Pots Garden?
Meet the gardener and see how 7+ years of trial, error, and joyful dirt led to this space.
Pingback: No-Fluff Guide to Container Gardening – Real Tips from 7 Years of Growing Experience